

Landscape edging installation in Woodbine provides not only an aesthetic appeal but also practical benefits for any garden or yard.
With the correct edging, you can effectively define your landscape areas, manage soil erosion, and keep your plants contained, ensuring a tidy and manicured appearance throughout the seasons.
In this article, we will discuss the various advantages of landscape edging, explore the different types of materials available, provide a comprehensive step-by-step guide for installation, and offer essential maintenance tips to enhance the longevity of your landscape features.
Whether you’re a DIY novice or an experienced gardener, this guide will equip you with the knowledge needed to achieve perfect finishing touches in your outdoor space.
 GET YOUR FREE QUOTE NOW!
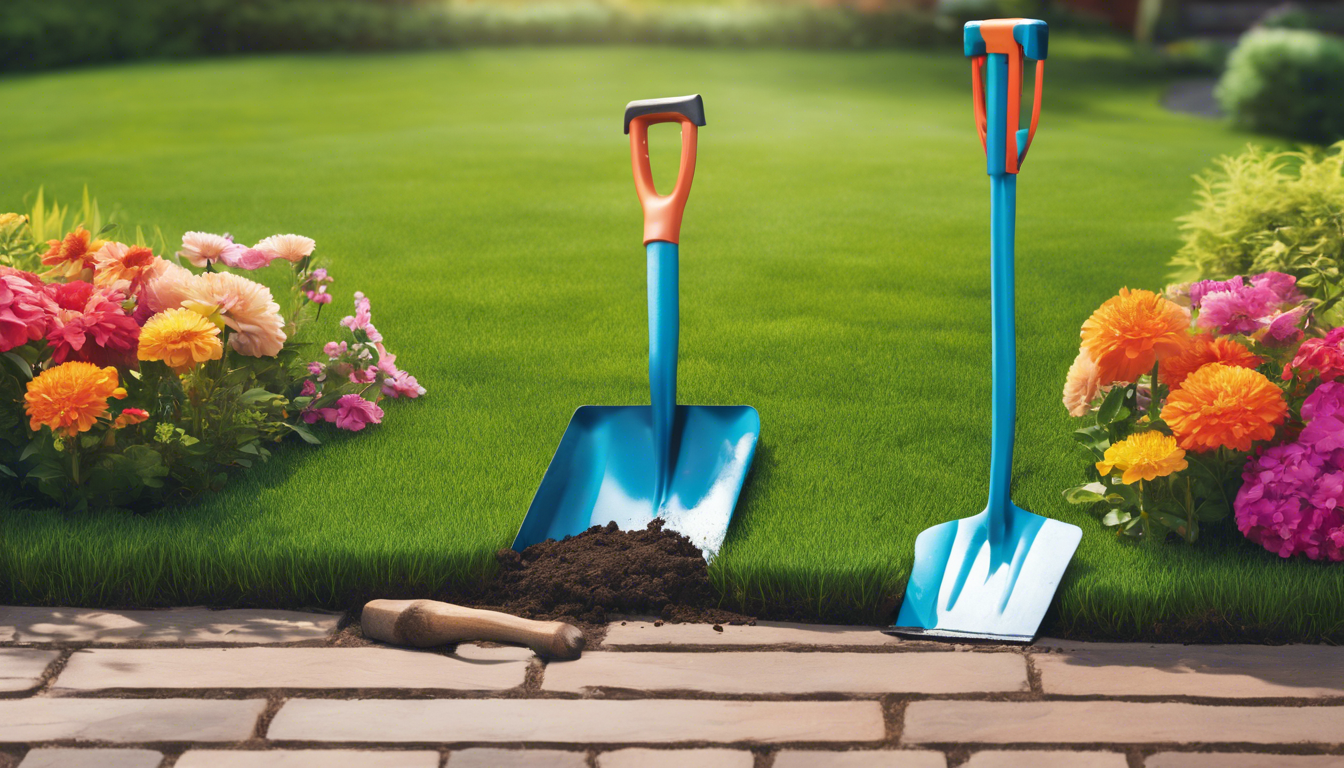
Step-by-Step Guide to Installing Landscape Edging
Installing landscape edging is a vital step in enhancing the beauty and functionality of your garden, and mastering the process of landscape edging installation in Woodbine can provide your outdoor space with the perfect finishing touches.
This step-by-step guide will walk you through the process, ensuring that you achieve a professional look that complements your landscaping design.
First, you need to plan the layout of your edging.
Use a garden hose or string to outline where you want to install the edging, keeping in mind the curves and contours of your flowerbeds or paths.
Once you have a clear outline, you can proceed to mark the area with spray paint or stakes to create a visible boundary.
Next, it’s essential to dig a trench along the marked line.
The depth and width of the trench depend on the type of edging material you choose, whether it’s concrete, metal, or plastic.
As you dig, ensure the sides of the trench are straight and even, which will help ensure a professional finish when the edging is installed.
After creating the trench, prepare your chosen edging materials.
For instance, if you opt for bricks or stones, lay them out in a dry run first, so you can evaluate their placement and make adjustments as needed.
This pre-layout step ensures that the design meets your aesthetic preferences.
Now it’s time to place the edging into the trench.
Start placing your materials at the beginning of the trench and firmly press them down to ensure they are level with the ground.
If your edging material requires adhesive or mortar, follow the manufacturer’s instructions to secure it in place.
For flexible materials, like plastic or rubber, ensure they are snugly fit and complete the edge seamlessly.
Finally, backfill the trench with soil or mulch around the edging to hold it in place and prevent it from shifting, giving your landscape a polished and cohesive appearance.
Watering the area will help settle the soil around the edging, making the installation look clean and integrated.
In conclusion, with careful planning, the right materials, and a keen eye for detail, your landscape edging installation in Woodbine will uplift your outdoor decor and create a defining border that enhances the overall aesthetics of your garden.
Maintenance Tips for Long-Lasting Landscape Edging
Maintaining your landscape edging is essential to ensure it remains both functional and aesthetically pleasing.
For those who have recently completed a landscape edging installation in Woodbine, here are some crucial maintenance tips to keep your edging in top shape.
Firstly, regularly inspect your edging for any signs of damage or wear, especially after severe weather conditions.
This proactive approach allows you to address issues before they escalate.
Secondly, keep the area around the edging clear of debris, leaves, and grass clippings, as accumulated materials can lead to rot or pest infestations.
Additionally, consider applying mulch or gravel around your edges to deter weeds and enhance the visual appeal of your landscaping.
Lastly, if your edging consists of materials like wood, treating them with sealants can prolong their lifespan and protect against moisture.
By following these simple maintenance tips post-installation, your landscape edging will serve as the perfect finishing touches for years to come.
Frequently Asked Questions
What are the benefits of landscape edging?
Landscape edging enhances the aesthetic appeal of your garden, helps to define borders, prevents soil erosion, reduces weed growth, and makes mowing easier.
What types of landscape edging materials are available?
There are several types of landscape edging materials including wood, stone, brick, metal, plastic, and rubber.
Each has its own unique look and benefits.
Can I install landscape edging myself, or do I need a professional?
You can install landscape edging yourself by following the step-by-step guide provided in the article.
However, if you’re uncomfortable with DIY projects or have a complex landscape, hiring a professional can ensure a perfect finish.
How do I maintain my landscape edging once it’s installed?
To maintain your landscape edging, regularly clean the edges to remove debris, check for shifts or erosion, and repair any damages as necessary.
Reapply finishing materials or treatments periodically if required.
Is landscape edging a good investment for my garden?
Yes, landscape edging is a worthwhile investment as it not only enhances the beauty of your landscape but also provides practical benefits such as improved garden health and easier maintenance.
Shore Point Hardscapes LLC
Hardscaping, Outdoor Kitchens, Fire Pit Installation, Pool Overlays, Nightscape Lighting, Landscape Designer, Fence Installation, Backyard Patios, Retaining Walls & Deck Installation in South Jersey.
Serving all of Southern New Jersey
Phone: 609-653-9222
Email: info@shorepointhardscapes.com
Google Business Page: https://g.co/kgs/RPFCBCo